Quick Answer: What is ACME?
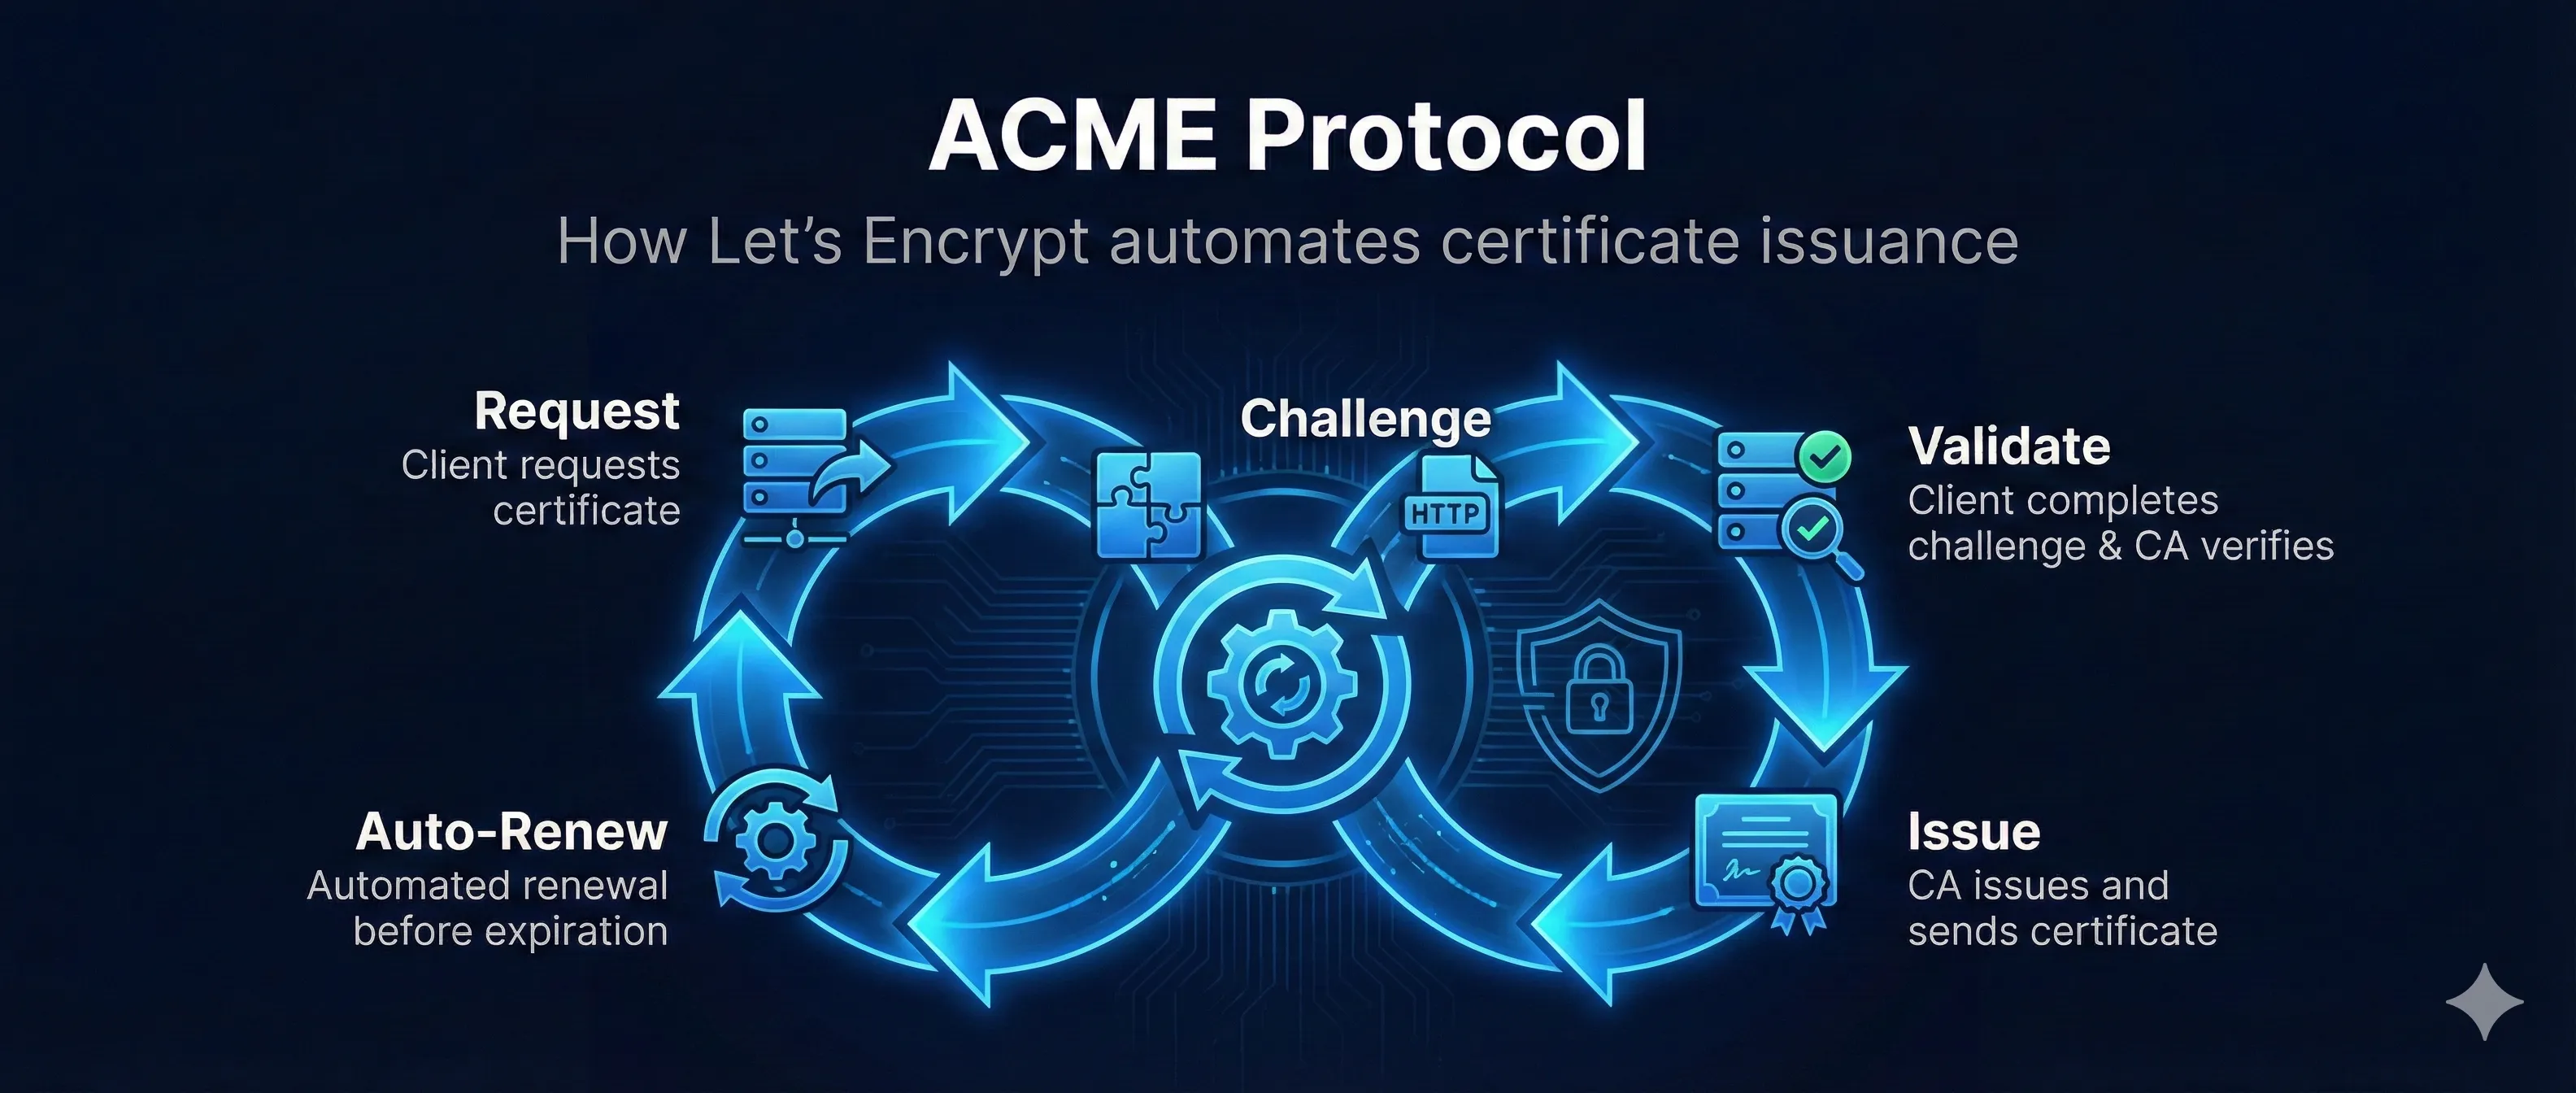
ACME (Automatic Certificate Management Environment) is a protocol that automates the process of getting SSL/TLS certificates. It's what powers Let's Encrypt and makes free, automated HTTPS possible.
Before ACME: Getting a certificate required manual CSR creation, email validation, CA portal navigation, and manual installation. With ACME: One command, fully automated.
Watch: ACME Protocol Explained
How ACME Works (Step by Step)
Step 1: Account Creation (One Time)
Your ACME client (Certbot) generates an account key pair and registers with the ACME server. You accept the terms of service. This account is reused for all future certificates.
Step 2: Certificate Request
Client requests a certificate for your domain(s). The ACME server creates an "order" containing authorization challenges you must complete.
Step 3: Get Challenge
ACME server provides challenge options: HTTP-01, DNS-01, or TLS-ALPN-01. Your client picks one and prepares the response.
Step 4: Complete Challenge
Client places the challenge response where ACME can verify it - either as an HTTP file, DNS TXT record, or TLS certificate extension.
Step 5: ACME Verifies
ACME server fetches the challenge URL or DNS record and verifies the response matches what it expected. This proves you control the domain.
Step 6: Submit CSR
Client generates a key pair for the certificate and submits a CSR to the ACME server.
Step 7: Certificate Issued!
ACME server signs the certificate and returns the full chain (your cert + intermediates). Client installs everything on your server. Done!
Challenge Types Explained
HTTP-01 Challenge
ACME server makes an HTTP request to your server at a specific URL. Your server must respond with a specific token proving you control it.
# ACME will request:
http://example.com/.well-known/acme-challenge/TOKEN123

# Your server must respond with:
TOKEN123.ACCOUNT_THUMBPRINT
Pros
- • Works with any web server
- • Easy to set up
- • No DNS access needed
Cons
- • Requires port 80 open
- • Can't do wildcard certs
- • Doesn't work for internal domains
DNS-01 Challenge
ACME server looks up a specific DNS TXT record. You must add this record to prove you control the domain's DNS.
# Create DNS TXT record:
_acme-challenge.example.com  TXT  "BASE64_ENCODED_DIGEST"

# Verify with:
dig TXT _acme-challenge.example.com
Pros
- • Works for wildcards (*.example.com)
- • No inbound connections needed
- • Works for internal domains
Cons
- • Requires DNS API access
- • DNS propagation delays
- • More complex automation
TLS-ALPN-01 Challenge
ACME connects to port 443 and expects a special self-signed certificate with the validation token in an extension.
Pros
- • Only needs port 443
- • Works through CDNs that terminate TLS
Cons
- • Requires TLS server modification
- • Less tooling support
Certbot Commands & Usage
Installation
# Ubuntu/Debian
sudo apt update
sudo apt install certbot python3-certbot-nginx

# CentOS/RHEL
sudo yum install certbot python3-certbot-nginx

# macOS (Homebrew)
brew install certbot
Getting Your First Certificate
# With Nginx (recommended - auto-configures server)
sudo certbot --nginx -d example.com -d www.example.com

# With Apache
sudo certbot --apache -d example.com -d www.example.com

# Standalone (when no web server is running)
sudo certbot certonly --standalone -d example.com

# Webroot (when you have a running server but don't want auto-config)
sudo certbot certonly --webroot -w /var/www/html -d example.com
Managing Certificates
# List all certificates
sudo certbot certificates

# Test renewal (dry run - doesn't actually renew)
sudo certbot renew --dry-run

# Force renewal
sudo certbot renew --force-renewal

# Revoke a certificate
sudo certbot revoke --cert-path /etc/letsencrypt/live/example.com/cert.pem

# Delete a certificate
sudo certbot delete --cert-name example.com
Let's Encrypt Rate Limits
Let's Encrypt has rate limits to prevent abuse. Understanding these is crucial for production deployments.
| Limit | Value | Reset |
|---|---|---|
| Certificates per registered domain | 50/week | Rolling |
| Duplicate certificates | 5/week | Rolling |
| Failed validations | 5/hour | Per account |
| Accounts per IP | 10/3 hours | Rolling |
| Pending authorizations | 300 | Per account |
Use Staging for Testing!
The staging environment has much higher rate limits. Always test there first.
# Use staging environment (certs won't be trusted)
sudo certbot --staging -d example.com

# Staging endpoint
acme-staging-v02.api.letsencrypt.org
Wildcard Certificates
Wildcard certificates (*.example.com) cover all subdomains. They require DNS-01 challenge because HTTP validation can't prove control over all possible subdomains.
Important Notes
- • DNS-01 only: Wildcards require DNS challenge
- • Apex not included: *.example.com does NOT cover example.com itself
- • Two authorizations: You need to authorize both example.com and *.example.com
Getting a Wildcard Certificate
# With Cloudflare DNS plugin
sudo certbot certonly \
  --dns-cloudflare \
  --dns-cloudflare-credentials ~/.cloudflare.ini \
  -d example.com \
  -d *.example.com

# With Route53 DNS plugin
sudo certbot certonly \
  --dns-route53 \
  -d example.com \
  -d *.example.com

# Manual DNS (interactive)
sudo certbot certonly --manual --preferred-challenges dns \
  -d example.com -d *.example.com
Automatic Renewal Setup
Let's Encrypt certificates expire after 90 days. Certbot sets up automatic renewal, but you should verify it's working.
90-Day Lifecycle
Certbot attempts renewal at 60 days (30 days remaining), giving you time to fix issues.
Verify Auto-Renewal
# Check if systemd timer is active
sudo systemctl status certbot.timer

# Check cron job (if not using systemd)
cat /etc/cron.d/certbot

# Test renewal without actually renewing
sudo certbot renew --dry-run

# Force renewal (if needed)
sudo certbot renew --force-renewal
Renewal Hooks
Run custom scripts after renewal (e.g., reload web server):
# Create a deploy hook
sudo nano /etc/letsencrypt/renewal-hooks/deploy/reload-nginx.sh

#!/bin/bash
systemctl reload nginx

# Make it executable
sudo chmod +x /etc/letsencrypt/renewal-hooks/deploy/reload-nginx.sh
Frequently Asked Questions
Why 90-day certificates?
Shorter validity forces automation (you can't manually renew every 90 days), reduces exposure if keys are compromised, and ensures regular key rotation.
Can I use Let's Encrypt for production?
Absolutely! Let's Encrypt certificates are trusted by all major browsers and are used by millions of production websites. They provide the same encryption strength as paid certificates.
What if I hit rate limits?
You'll need to wait for the limit to reset (usually a week). Use the staging environment for testing. Contact Let's Encrypt if you need higher limits for legitimate use cases.
Are there alternatives to Let's Encrypt?
Related Resources
Let's Encrypt Troubleshooting
Fix common ACME client and Let's Encrypt issues
Domain Validation Methods
HTTP-01, DNS-01, and TLS-ALPN-01 challenges explained
CAA Records Guide
Control which CAs can issue certificates for your domain
Certificate Lifecycle
Automated renewal with ACME in the certificate lifecycle
cert-manager for Kubernetes
ACME automation in Kubernetes environments
ARI Readiness Guide
ACME Renewal Information (RFC 9773) — mass revocation signaling
ACME Client Selection Checklist
Decision framework for choosing or re-evaluating your ACME client