The 30-Second Version
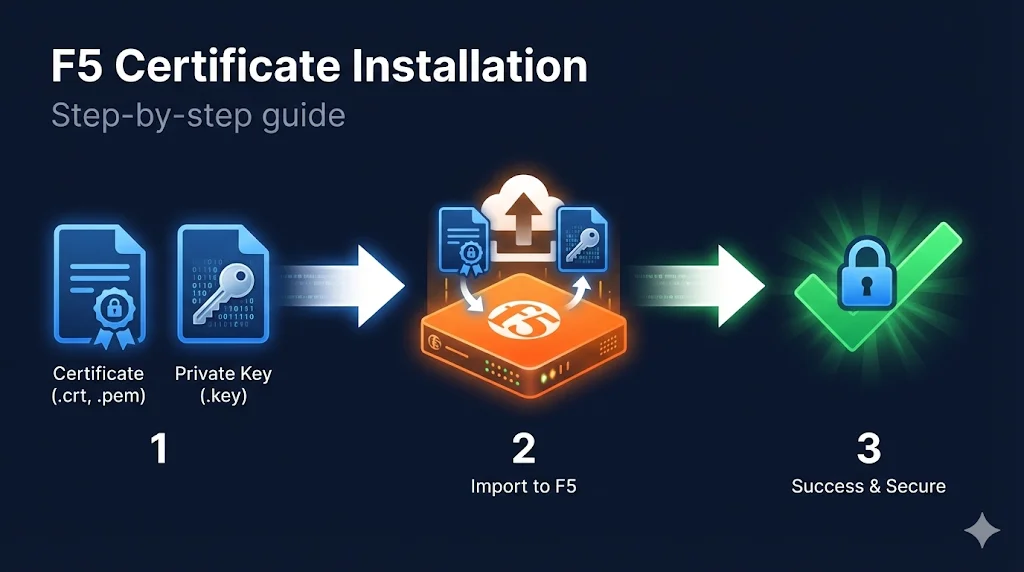
The process: Import certificate → Import key → Import chain → Create/update Client SSL profile → Assign to virtual server.
Location: System → Certificate Management → Traffic Certificate Management → SSL Certificate List
Common gotcha: Don't forget the intermediate certificate chain - it's a separate import.
Before You Start
What You Need
| Item | Description | File Extension |
|---|---|---|
| Server Certificate | Your SSL certificate from the CA | .crt, .cer, .pem |
| Private Key | Generated when you created the CSR | .key, .pem |
| Intermediate Chain | From your CA (often called "CA Bundle") | .crt, .pem, .ca-bundle |
| Key Passphrase | Only if your key is password-protected | (text) |
Pre-Flight Checklist
- Certificate and key files are accessible
- You know the key passphrase (if encrypted)
- You have intermediate certificate(s) from your CA
- You have admin access to F5 BIG-IP
- You know which virtual server needs this certificate
Import the Certificate and Key
Path: System → Certificate Management → Traffic Certificate Management → SSL Certificate List → Import
Option A: Import Key + Certificate Together (Recommended)
- Click Import
- Import Type: Select
Certificate + Key - Certificate Name: Use a descriptive name (e.g.,
www.example.com_2025) - Certificate Source: Upload file or paste PEM text
- Key Source: Upload file or paste PEM text
- Key Passphrase: Enter if key is encrypted (leave blank if not)
- Click Import
Option B: Import Separately
Import Certificate:
- Click Import
- Import Type: Select
Certificate - Certificate Name:
www.example.com_2025 - Certificate Source: Upload or paste
- Click Import
Import Key:
- Click Import
- Import Type: Select
Key - Key Name: Use same name as certificate for easy matching
- Key Source: Upload or paste
- Key Passphrase: Enter if encrypted
- Click Import
Verification
After import, you should see your certificate listed with:
- Certificate name
- Expiration date
- Key (shows "Yes" if key is present)
Import the Intermediate Chain
This step is critical.
Missing intermediates cause "certificate not trusted" errors on mobile devices and API clients.
Path: System → Certificate Management → Traffic Certificate Management → SSL Certificate List → Import
- Click Import
- Import Type: Select
Certificate(not Key) - Certificate Name: Descriptive name (e.g.,
DigiCert_Intermediate_2025orSectigo_Chain) - Certificate Source: Upload or paste your intermediate certificate
- Click Import
Multiple Intermediates?
If your CA provided multiple intermediate files, you have two options:
Option 1: Import Each Separately
Import each intermediate as its own certificate. Later, you'll need to create a bundle (more complex).
Option 2: Create a Bundle File First (Recommended)
# Concatenate intermediates (order matters: your issuer first)
cat intermediate1.crt intermediate2.crt > chain-bundle.crt
Then import the bundle as a single certificate.
Create or Update the Client SSL Profile
Path: Local Traffic → Profiles → SSL → Client
Creating a New Profile
- Click Create
- Name: Descriptive name (e.g.,
clientssl_www.example.com) - Parent Profile: Select
clientssl(default parent)
Configure Certificate Key Chain
- Scroll to Certificate Key Chain section
- Click Add
- Certificate: Select your imported certificate
- Key: Select your imported key (should auto-match if names match)
- Chain: Select your intermediate certificate
- Passphrase: Enter if key is encrypted
- Click Add
- Click Finished
Visual of Certificate Key Chain
┌─────────────────────────────────────────────────┐
│ Certificate Key Chain                           │
├─────────────────────────────────────────────────┤
│ Certificate: www.example.com_2025          [▼]  │
│ Key:         www.example.com_2025          [▼]  │
│ Chain:       DigiCert_Intermediate_2025    [▼]  │
│ Passphrase:  ••••••••                           │
│                                      [Add]      │
└─────────────────────────────────────────────────┘
Assign Profile to Virtual Server
Path: Local Traffic → Virtual Servers → [Your Virtual Server]
- Select your virtual server
- Scroll to SSL Profile (Client) section
- Move your new profile from Available to Selected
- Click Update
Quick Check
Your virtual server should now show:
SSL Profile (Client): clientssl_www.example.com
Verify the Installation
Test from Command Line
# Basic connection test
openssl s_client -connect your-vip-ip:443 -servername www.example.com

# Check certificate details
openssl s_client -connect your-vip-ip:443 -servername www.example.com 2>/dev/null | \
  openssl x509 -noout -subject -issuer -dates

# Verify chain is being sent (should show 2+ certificates)
openssl s_client -connect your-vip-ip:443 -servername www.example.com 2>/dev/null | \
  grep -c "BEGIN CERTIFICATE"
Test with SSL Labs
- Go to ssllabs.com/ssltest
- Enter your domain
- Check for:
- Certificate valid
- Chain complete
- No chain issues
Test from F5 (tmsh)
# List certificates
tmsh list sys crypto cert

# Show certificate details
tmsh list sys crypto cert www.example.com_2025 all-properties

# Verify profile configuration
tmsh list ltm profile client-ssl clientssl_www.example.com
Common Installation Errors
| Error | Cause | Fix |
|---|---|---|
| "Key and certificate do not match" | Wrong private key uploaded | Re-export key from where you generated CSR |
| "Invalid certificate" | Wrong format or corrupted file | Ensure PEM format, check for hidden characters |
| "Unable to load key" | Wrong passphrase or encrypted key | Verify passphrase or decrypt key first |
| Certificate shows but not working | Profile not assigned to VS | Check Virtual Server → SSL Profile (Client) |
| "Not trusted" on some clients | Missing chain certificate | Import and assign intermediate in Chain field |
| Key import fails | Key still encrypted | Decrypt with: openssl rsa -in encrypted.key -out decrypted.key |
Quick Reference - tmsh Commands
# Import certificate via tmsh
tmsh install sys crypto cert www.example.com_2025 from-local-file /var/tmp/cert.crt

# Import key via tmsh
tmsh install sys crypto key www.example.com_2025 from-local-file /var/tmp/cert.key

# Create client SSL profile
tmsh create ltm profile client-ssl clientssl_www.example.com \
  cert-key-chain add { www.example.com_2025 { \
    cert www.example.com_2025 \
    key www.example.com_2025 \
    chain DigiCert_Intermediate_2025 \
  }}

# Assign profile to virtual server
tmsh modify ltm virtual my-virtual-server profiles add { clientssl_www.example.com { context clientside } }

# Save configuration
tmsh save sys configInstallation Checklist
- Certificate imported
- Private key imported (matches certificate)
- Intermediate chain imported
- Client SSL profile created
- Certificate Key Chain configured with cert + key + chain
- Profile assigned to virtual server
- Tested with openssl s_client
- Verified chain is complete (no "not trusted" errors)
- Configuration saved
Frequently Asked Questions
Related Resources
F5 Certificate Chain Configuration
Fix "certificate not trusted" errors with proper chain setup.
F5 SSL Profiles Explained
Understand Client SSL and Server SSL profiles and when to use each.
F5 SSL Troubleshooting
Debug common SSL issues on BIG-IP - symptom by symptom.
Chain Builder Demo
Interactive tool to build and validate certificate chains.
Certificate File Formats
PEM, DER, PFX - convert certificates to the right format for F5.
How TLS Works
Understand the TLS handshake and certificate verification process.